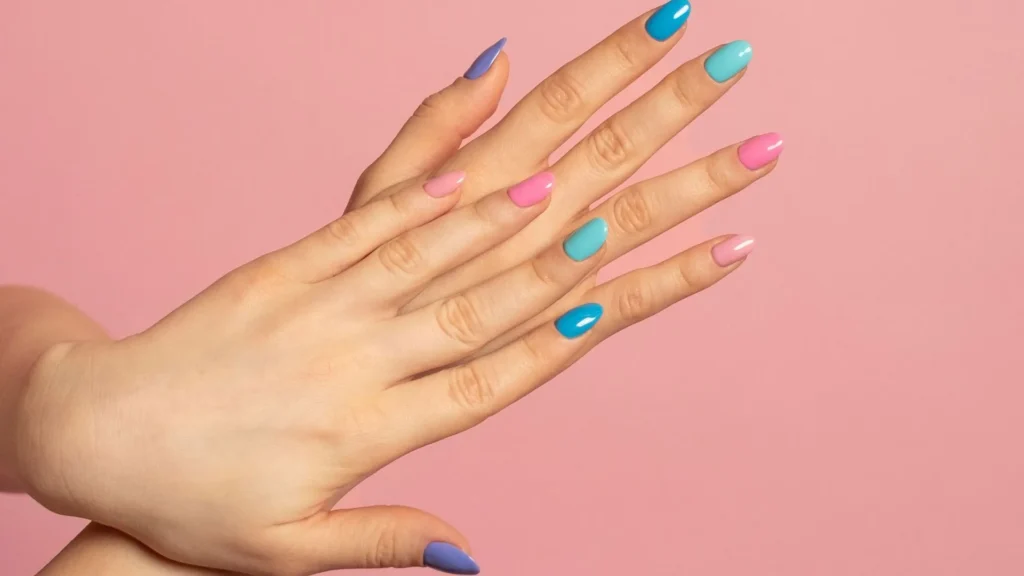
The right background can make or break your nail photography. Whether you’re a professional nail technician showcasing your work, a beauty influencer creating content for seasonal trends like March nail designs, or simply someone who loves to share your manicures on social media, your choice of background significantly impacts how your nail art is perceived.
In this comprehensive guide, we’ll explore how to select backgrounds that enhance your nail photos and help your creative work shine. Let’s dive in!
Why Background Selection Matters
The background in nail photography isn’t just a blank canvas. It’s an intentional design element that:
- Enhances focus on your nail art details
- Creates context for your design
- Establishes mood and aesthetic appeal
- Reinforces your brand identity
A thoughtfully chosen background can elevate even simple nail designs, while a poor background choice can diminish the impact of intricate nail art.
Assessing Lighting Conditions
Before selecting your background, understand how lighting affects your photography setup:
Natural Light vs Artificial Light
Natural light creates soft, even illumination that shows true nail color. Position yourself near a window for best results. Ideally, this should be done during the “golden hours” (early morning or late afternoon) when sunlight is warm and diffused.
Artificial light offers consistency regardless of time or weather. A ring light or softbox positioned at 45° above the hands significantly improves image attractiveness compared to standard overhead lighting.
How Backgrounds Interact with Light
Different background materials interact uniquely with light:
- Reflective surfaces (glass, glossy paper) bounce light back toward nails, creating brightness but potentially unwanted glare
- Matte surfaces (fabric, matte paper) absorb light and reduce reflections
- Textured backgrounds create subtle shadows that add dimension
Choosing Background Colors Wisely
Color selection dramatically impacts how your nail art appears in photographs:
Neutral Backgrounds
Neutral tones like white, black, and gray let your nail colors take center stage:
- White backgrounds brighten images and work especially well for dark or vibrant nail colors
- Black backgrounds create drama and make light, pastel, and metallic nail colors pop
- Gray backgrounds provide a balanced middle ground that works with most nail designs
Strategic Color Selection
Consider color theory when selecting backgrounds:
- Complementary colors (opposite on the color wheel) create vibrant contrast
- Analogous colors (adjacent on the color wheel) create harmony
- Monochromatic schemes (variations of one color) create sophisticated, cohesive looks
Use a color wheel app to help identify colors that enhance your specific nail design.
Surface Finish Considerations
The finish of your background affects the overall mood:
- Matte finishes reduce reflections and create a soft look
- Glossy finishes add vibrancy but can create unwanted reflections
- Textured finishes add dimension but may compete with detailed nail art
Maintaining Consistency with Brand Identity
Your background choices contribute to your visual brand:
Developing a Signature Style
Consider developing a consistent background approach that becomes recognizable to your audience. This might include:
- A specific color palette aligned with your brand
- Characteristic textures or materials
- Distinctive styling elements
Balancing Variety and Consistency
While consistency builds brand recognition, some variety prevents visual monotony:
- Maintain core elements (like color palette) while varying textures
- Create seasonal variations that still feel connected to your overall aesthetic
- Use templates or presets to ensure cohesive editing across different backgrounds
Practical Background Solutions
You don’t need expensive equipment to create stunning nail photography backgrounds:
DIY Background Ideas
- Colored paper or cardstock for simple, clean backgrounds
- Fabric swatches from craft stores for textured options
- Vinyl flooring samples for wood or marble looks without the weight
- Old magazines or wrapping paper for colorful patterns
- Painted canvas boards for custom colors and textures
Portable Background Options
For nail artists who work in different locations:
- Foldable backdrop boards
- Photography paper rolls
- Laptop-sized acrylic plates
- Fabric swatches stored in a portfolio case
Experimenting with Props and Hand Poses
The right accessories and positioning enhance your backgrounds:
Complementary Props
Select minimal props that add context without overwhelming:
- Small jewelry pieces
- Beauty products related to nail design
- Seasonal elements (flowers, leaves, etc.)
- Color-coordinated small objects
Strategic Hand Positioning
How you position your hands affects how the background appears:
- Fingertips touching the background create direct visual connection
- Hands hovering slightly above create subtle shadows
- Angled poses show more nail surface area against the background
Testing and Evaluating Different Backgrounds
Refine your approach through systematic testing:
- Take test shots with various backgrounds
- Compare images side-by-side
- Note which backgrounds enhance specific nail colors or designs
- Create a reference guide for future shoots
Pro tip: Create a simple photography journal documenting which backgrounds work best with different nail designs and lighting conditions.
Final Thoughts
Selecting the perfect background for nail photography is both an art and a science. By thoughtfully considering lighting conditions, color theory, texture, and brand consistency, you can create nail photographs that truly showcase your artistry and attract attention.
Remember that experimentation is key. What works for one nail design may not work for another. Build a diverse collection of background options and develop an understanding of which backgrounds enhance different types of nail art.
